Welcome to
{Give me Liberty Inspiration Blog Hop}! I can't wait to share with you the
{Hana Patchwork Book/Planner Cover Tutorial}. You might not know that this year, one of my goal is to enjoy record little events within daily. Little drawings or phases that I read from articles or words of wisdom. The planner I have been using is from
{Moleskin} and it works for me. I like the clean space and it is a weekly planner rather than monthly, so I could have the week plan out and check into the following week schedules. I am still an old-fashioned person who loves to write down events throughout the week and enjoy hand-writings. Here within this tutorial I will show you how to make your personal
Hana Patchwork Book/Planner Cover. How to measure your book/planner rather just give you measurements. Are you ready? Let's get started!
Open book/planner in half; make sure you could lay the book/planner evenly on the table, so you can get accurate measurement. The diagonal measurement is the long length of the patchwork row. Measure the thickness of the book/planner. You want to add that to the measurement as well. So, check the diagonal length is measure 13.25". The patchwork piece will need to be larger than the measurement, plus the 0.50" of the thickness of the book.
Here is the measurement for the actual planner size: 8.25"x10.75". I added 1" to the length of the planner and 2.25" to the width ( I have added the thickness and seam allowances to this as well).
This is the patchwork layout; Each patchwork block is unfinished at 2"x2", which is the little dash square. If you check on the diagonal length you can see there are total of 11 patchwork blocks. If your book/planner is bigger, you'll need to piece more patchwork blocks.
note: All the sewing is set with 1/4" seam allowances, unless noted!
Step 1: Always iron the cloth and trim the edge of the fabric before you start your real cutting. Sorry for being bad example here. I didn't press the cloth, but I highly recommend it! It does make the measurement off if it is really wrinkle.
Step 2: Here I selected 24 of fat sixteenths (9"x11") of Liberty Lawn prints
Cut 3 pieces of 1" (WOF=width of fabric) stripes from each print.
Step 3: Prepared all the 1" stripes before you start sewing;
aren't they pretty?
Step 4: Bring three stripes of fabric together. Play with the fabric contrast; such as colors, prints in scale and contrast as themes.
Step 5: Sew stripes together. Repeat all the stripes sewing until you run out of the 1" fabric cuts
Step 6: After sewing all the 1" strings. Press the back seam allowance open;
Repeat to all the stripes sewing
Step 7: After finished all the seam allowance open pressing; check on your sewing measure.
The sewn stripes should be 2 1/2" after sewn together at this time.

Step 8: Trim the end of the sewn strips
Step 9: Cut the sewn stripes in 2" wide; repeat for all sewn stripes
Step 10: For the planner I used; there are total of 76 set of 2"x2" blocks
Step 11: Start layout for the
Hana Patchwork. Watch for the block directions. Each Block is the opposite direction from the next one. So it creates woven look
Step 12: Join blocks into rows!
Don't jump at this step and just grab two blocks and sew together! I highly recommend sewing the blocks in the row as you layout, so you will not get confused or mess up with the direction
Step 13: After sewing blocks into rows; Check if you have miss place one or two in opposite direction or are you please with your layout?
yes?
Step 14: Join the block; Now, each row of the blocks work as a unit after they sewn into a row. You will find the center block and place it to the next row's center block.
Step 15: This is how rows join look like.
Step 16: Complete the
Hana Patchwork Piece
Step 17: Press the seam to one side; no need to open the seam allowance.
Warm iron press has been working out great for me.
Step 18: Sandwich the patchwork; It would be just how you would sandwich a quilt. I used the single thread to basted the pieces. For the backing, it will just like how a quilt finishes, so you might want to find something that you love for the backing piece. I used 100% linen for it!
Step 19: Quilting; adjust the sewing foot and quilt 1/16" away from the sewing seam; repeat for the other side of the sewing seam.
You can be creative the why you like to quilt! It is a personal book cover, so feel free to make your own.
Step 20: This is how it looks like inside after quilting for the cover
Step 21: This is the finished patchwork piece, now you can set it aside!
A closer look of the quilting lines. Here, I enlarged sewing stitch length for the quilting.
It will make the patchwork look clear and nice!
Step 22: Prepare for the inner pockets which is the part that the book cover; front and back insert into.
For this planner measurement
Cut 2 pieces of 10"x9.75" fabric for the inner pocket
Cut 2 pieces of 9.5x9.25" fusible light weight interfacing
Cut 1 piece of 10"x12" fabric for the inner pocket ( which for keeping stickers, or notes etc.)
Cut 1 piece of 9.5"x 11.50" fusible light weight interfacing
How to measure your own:
Close the book/ planner before measuring. Measure the width of one side book cover. The one I have is 5" and the high is 9.75". However, you want to double the size for the width, so 5x2=10"
Step 23: Fold the inner pocket in half then iron repeat for the other two pockets
Step 24: After repeat press the inner pocket; sew 1/8" seam at the press side of the pocket
Prepare binding pieces; cut the fabric 2.5" WOF and determine the length by your pocket ( I always have mine longer, so I cut mine at 2.5"x10.5". Fold the binding fabric in half and sew onto the folded side of the pocket piece ( Just how you would finish a quilt).
Step 25: Attach the small pocket piece to the large pocket piece.
Step 26: Finish the binding for the pocket pieces; now you can set aside the pocket pieces
Step 27: Trimming Hana Patchwork piece. Use Be-gone pen for making is a safe way to start if your patchwork piece didn't line up nicely. After quilting, I checked patchwork piece. It lined up pretty nice, so I went ahead trim the edges by using rotary cutter and ruler.
Step 28: Trim off all four sides of the patchwork and save all the edge trimming
Step 29: Place the book or planner on top of the Hana Patchwork Piece. Now it is time to trim the patchwork piece to the final size. I added 1" to the length of the planner and 2.25" to the width ( I have added the thickness and seam allowances {{1/4"}} to this as well).
Step 30: Insert Inner Pockets. Pin the inner pockets to the patchwork piece. You may create as many small pockets as you like. I keep mine simple, since i plan on putting stickers and stamps in the small pocket.
Step 31: Set the seam allowance to 1/8" and sew around the pin pocket piece and the patchwork piece
Step 32: Close look for the basting line.
Step 33: Fold your 2/3 finished Hana Patchwork cover then insert your book/planner for final checking before adding binding
Step 34: Binding the Hana Patchwork Book/Planner cover. Cut the binding pieces in 2.5" WOF. The length would depend on your perimeter of the patchwork piece
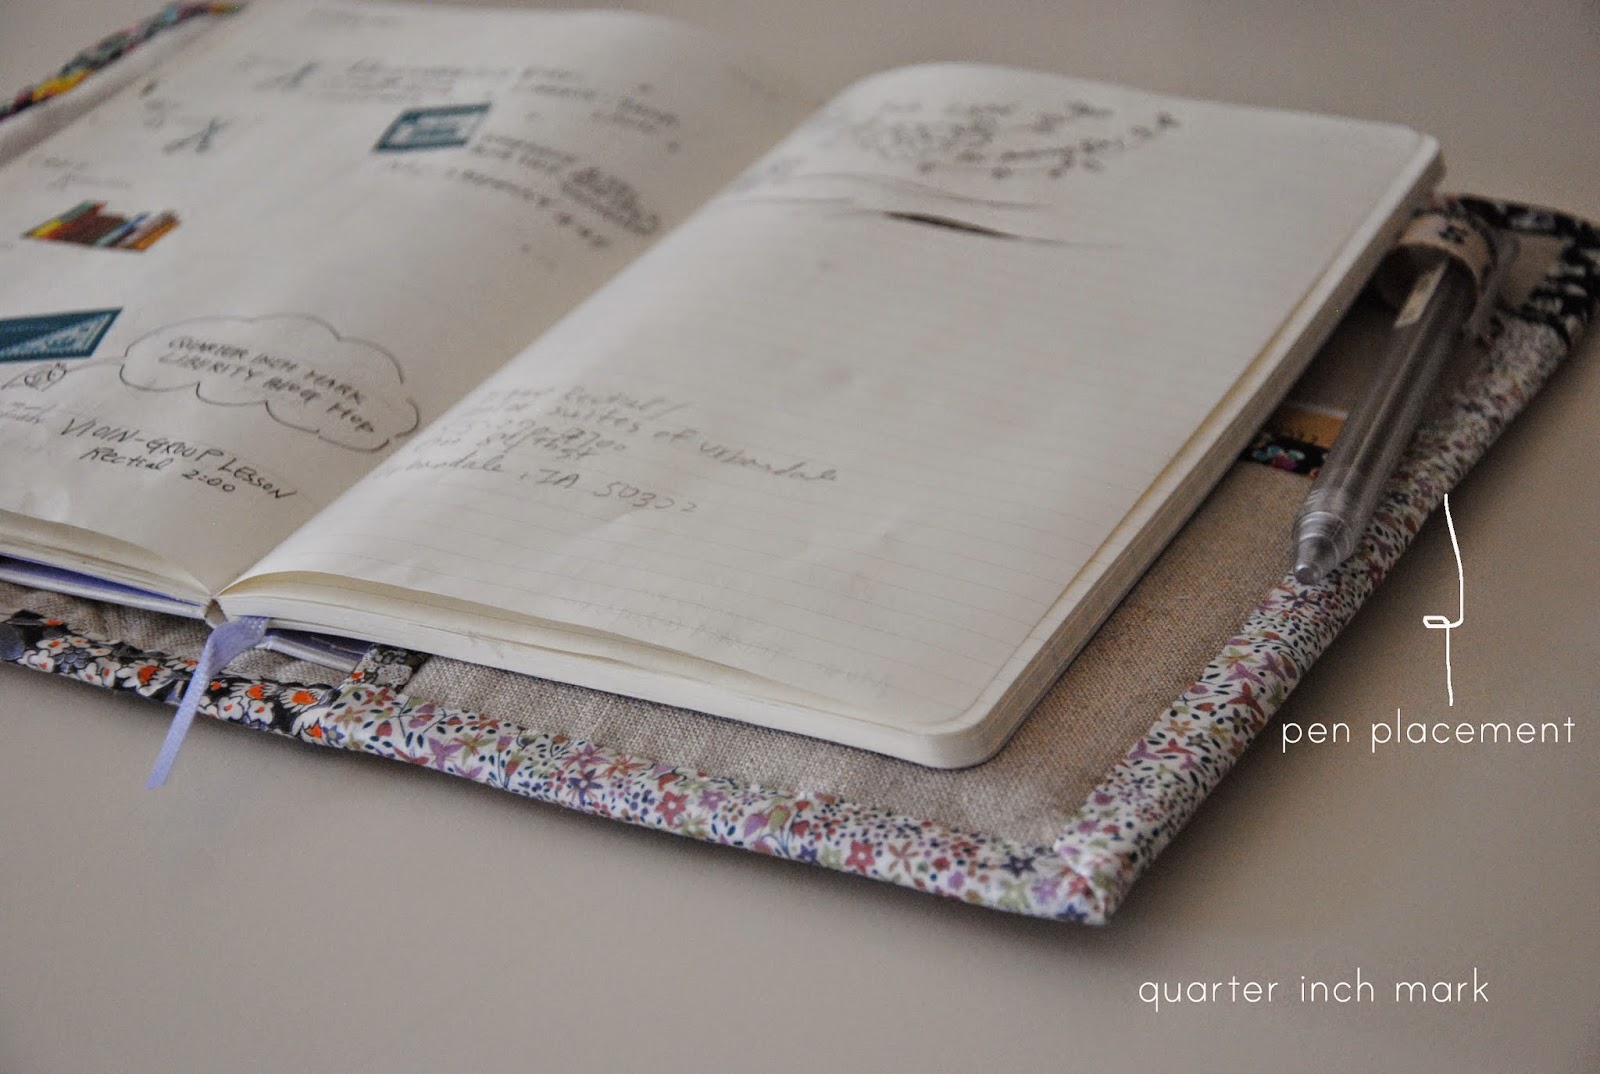
Step 35: This is an option step! You may skip it! I add a little trim ribbon for pen holder
Step 36: Attach binding just like how you bind a quilt. I used be-gone pen to mark the two binding ends then sew together
Step 37: Complete the binding attachment
Step 38: I hand stitched the binding as I prefer the final touch added a little imperfect hands on to it.You may machine finishing binding
Step 39: TA-DA! Hana Patchwork Book/Planner Cover is completed!

Don't let this photo fool you! It looks like the left and right side are bigger than the planner, but when it is closed. It only left about 0.5" on each side. I did purpose left the top and the bottom 0.5" longer than the planner length. I also have a note book that I carry in my tote all the time. I decided to included the notebook in this cover, so added extra space in the measurement.
I love how this patchwork cover turns out! It is super soft and lovely! I am off to make a few more now! As many birthdays are around the corners and would be great for gifting to teacher for appreciation day.
Thank you for following up this fun tutorial! Again, this tutorial is for Personal use Only! It is always honored and kind being credited as original creator of a tutorial. When you do that it shows a lot of respect and kindness to anyone who share/write tutorials or ideas on their blog. It also brings great encouragement for them or me keep sharing and writing. Thank you!
{Give me Liberty Club Inspration Blog Hop}
February 24th: Kick Off!
A Crafty Fox
February 25th:
Astrid at Red, Red Completely Red
February 26th:
Svetlana at Sotak Handmade
February 26th:
Andy at A Bright Corner
February 27th:
Chase at Quarter Inch Mark <---- me!
March 1st:
Emily at Simple Girl Simple Life
March 2nd:
Ashley at Film In The Fridge
March 3rd:
Lee at Freshly Pieced
March 4th:
Audrie at Blue is Bleu
March 5th:
Amanda at A Crafty Fox